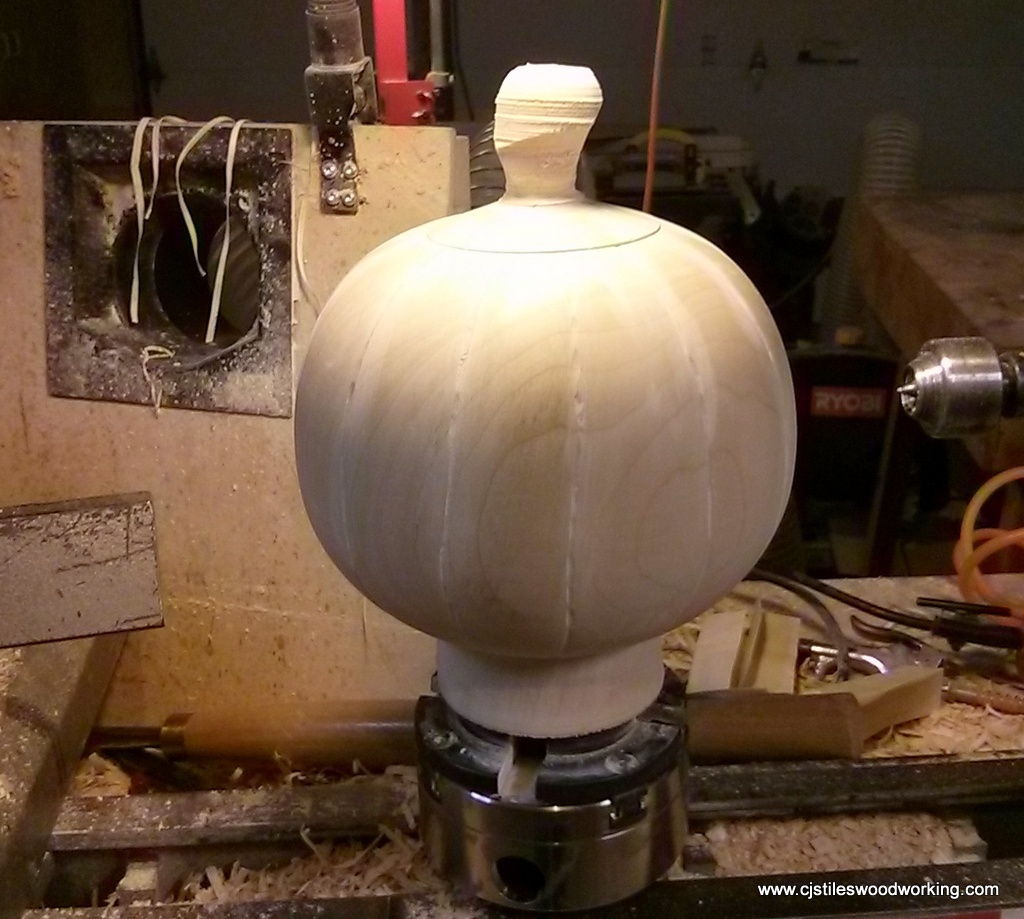
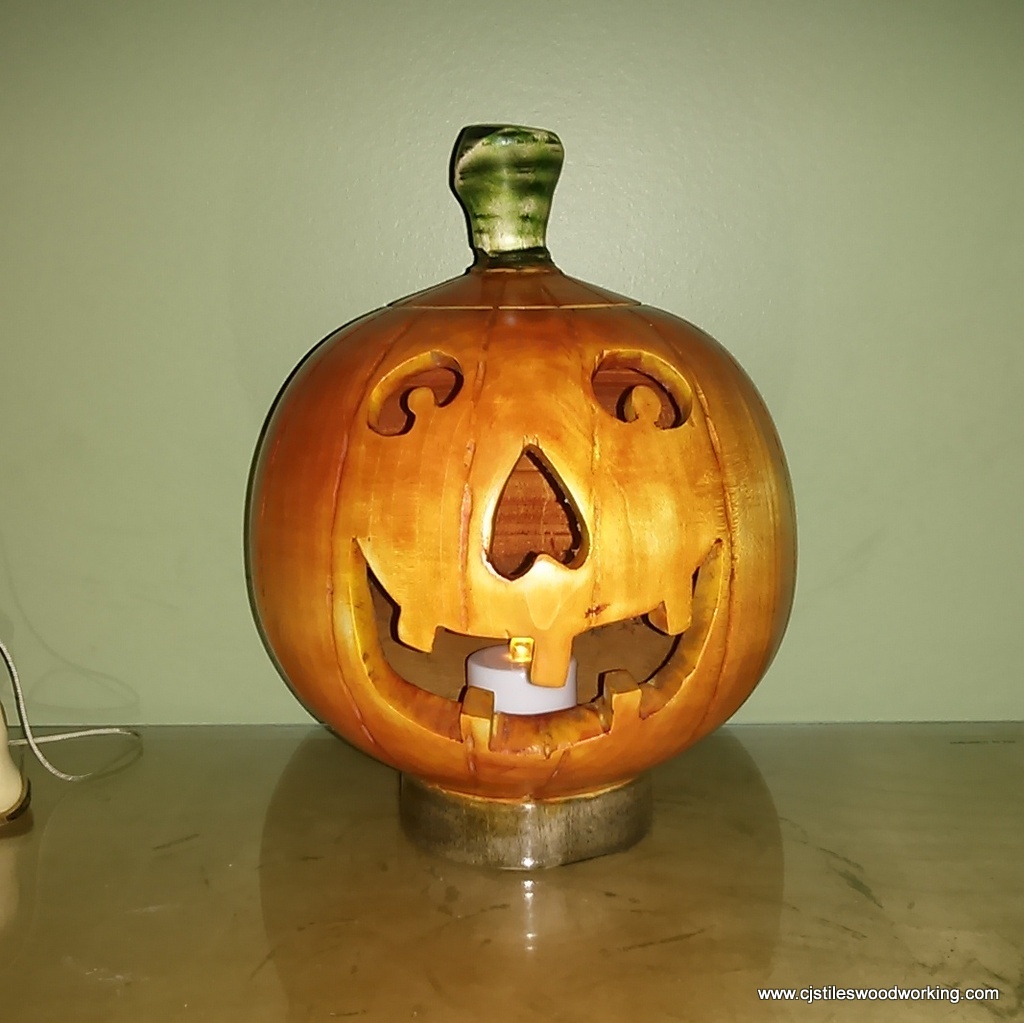
As Halloween approached this year I had the idea to turn a wooden Jack O’lantern. I started by finding a split log of maple that was large enough to turn a decent size “pumpkin” from; it turned out to be about a eight inches in diameter. Once I had the basic shape turned I proceeded to hollow it out and then carved some ribs into it. For the top I changed the axis a few times while turning to create an irregular shape for the stem.
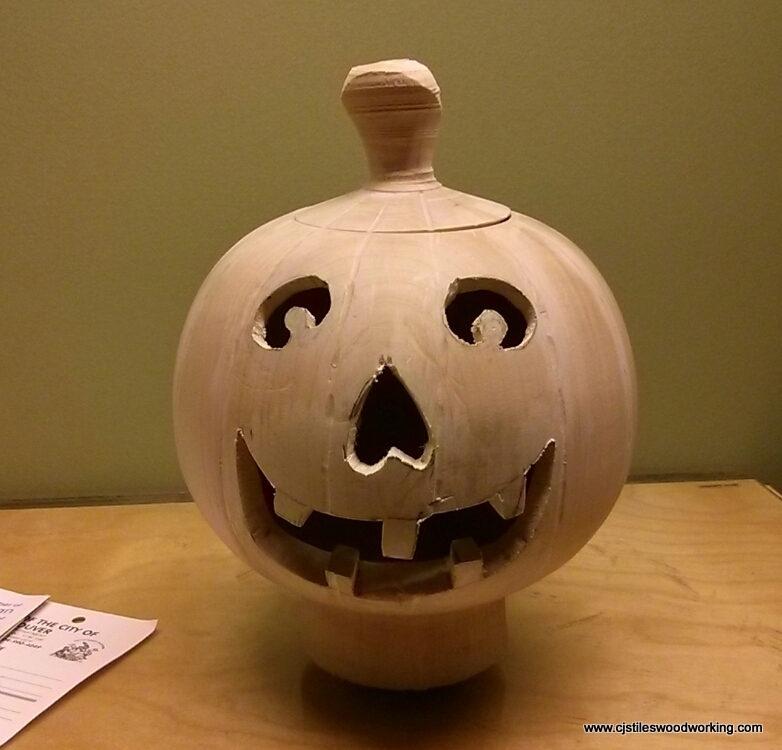
Once I had my basic pumpkin done I drew out a design for the face and proceeded to cut it out with a jigsaw. Since I had to drill holes to start cutting the face out I took the opportunity to check and refine the evenness of the wall thickness at that point. Once I had the face cut out it was time for some sanding before I started colouring it.
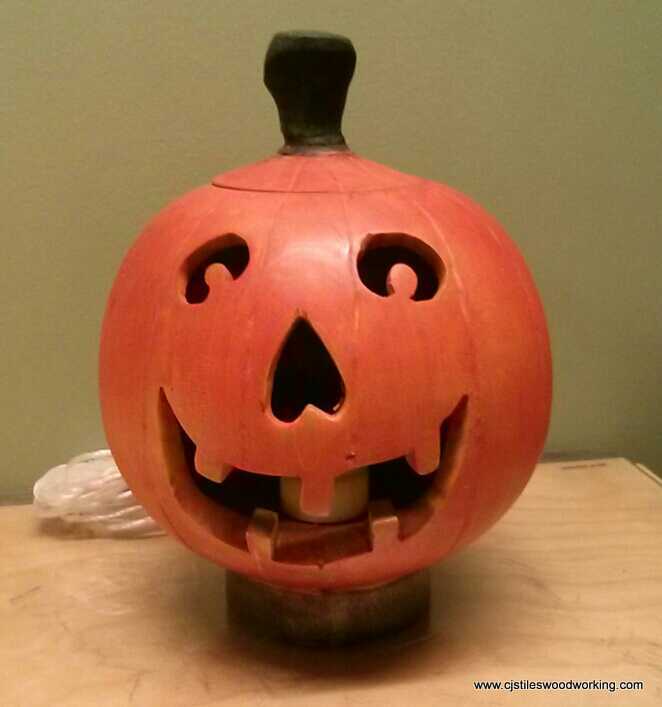
I mixed together some aniline dyes to produce an appropriate orange colour for the outside a of the pumpkin and a more yellow colour for the inside. I thought that I would be done after adding a few coats of wipe-on-poly but as I added more coats I became unhappy with the plastic look that it was developing.
At that point I decided to try sanding it back to show a bit more of the wood and make the colours a little less intense. This is the finished result and I am much happier with how it looks.
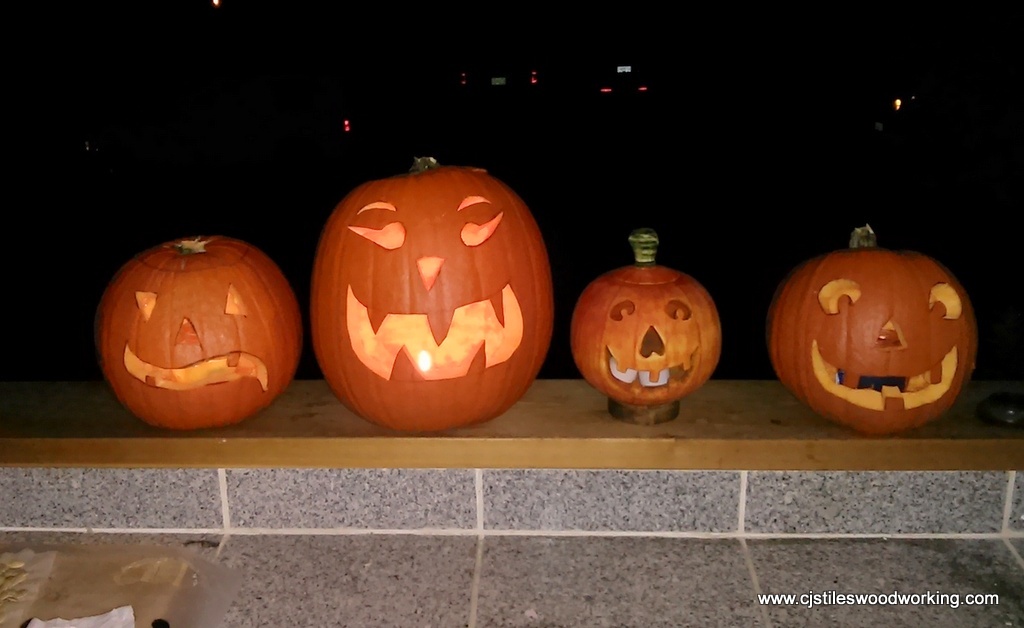
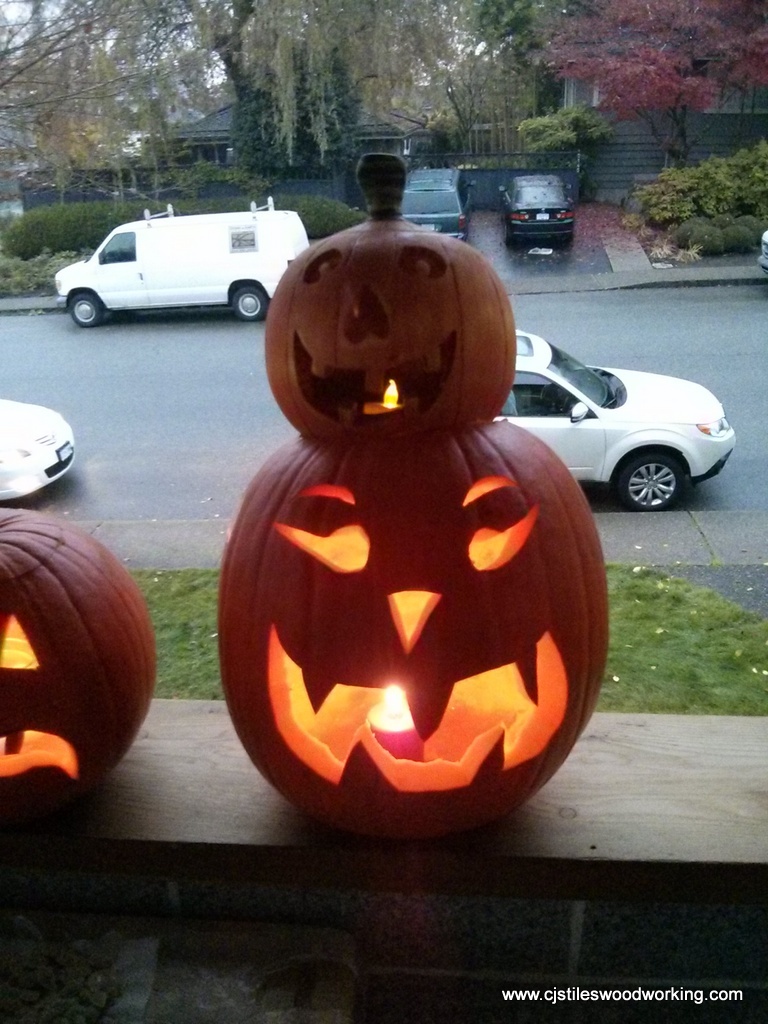
Later we had some fun posing the wooden Jack O’lantern with the ones that we carved for Halloween.
