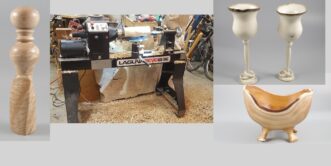
Inspiration to make a Go board and Chess set
This year for my nieces birthdays I decided to make one of them a Go board and the other a Chess set. It all started when a friend of mine asked me if I could make a Go board. This was at about the same time that I was trying to come up with some ideas for birthday gifts. It sparked the idea of making one of the them a Go board and then a Chess set for the other.
Making the Go board
Being a turner I wanted to find some way to incorporate turning into the board. I came up with the idea of gluing the four pieces for the frame together and turning them to profile the outside. Then separating them to make the frame.
First I glued together the pieces of wood for the frame. Sandwiching kraft paper in-between the pieces so they could be easily separated later.
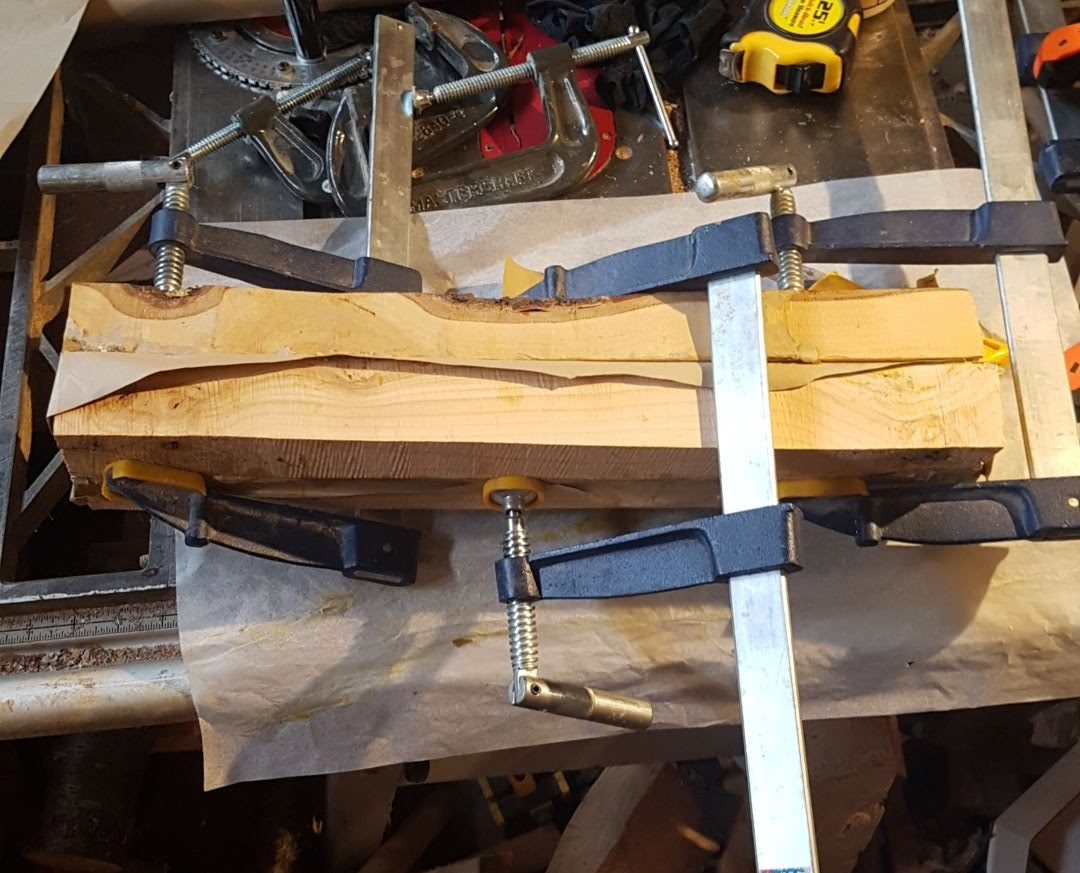
Then I put the pieces on the lathe and turned the profile I wanted for it.

Once it was done I was able to easily separate the pieces along the paper glue joints. Then I used the profiled pieces to make a frame for the board.
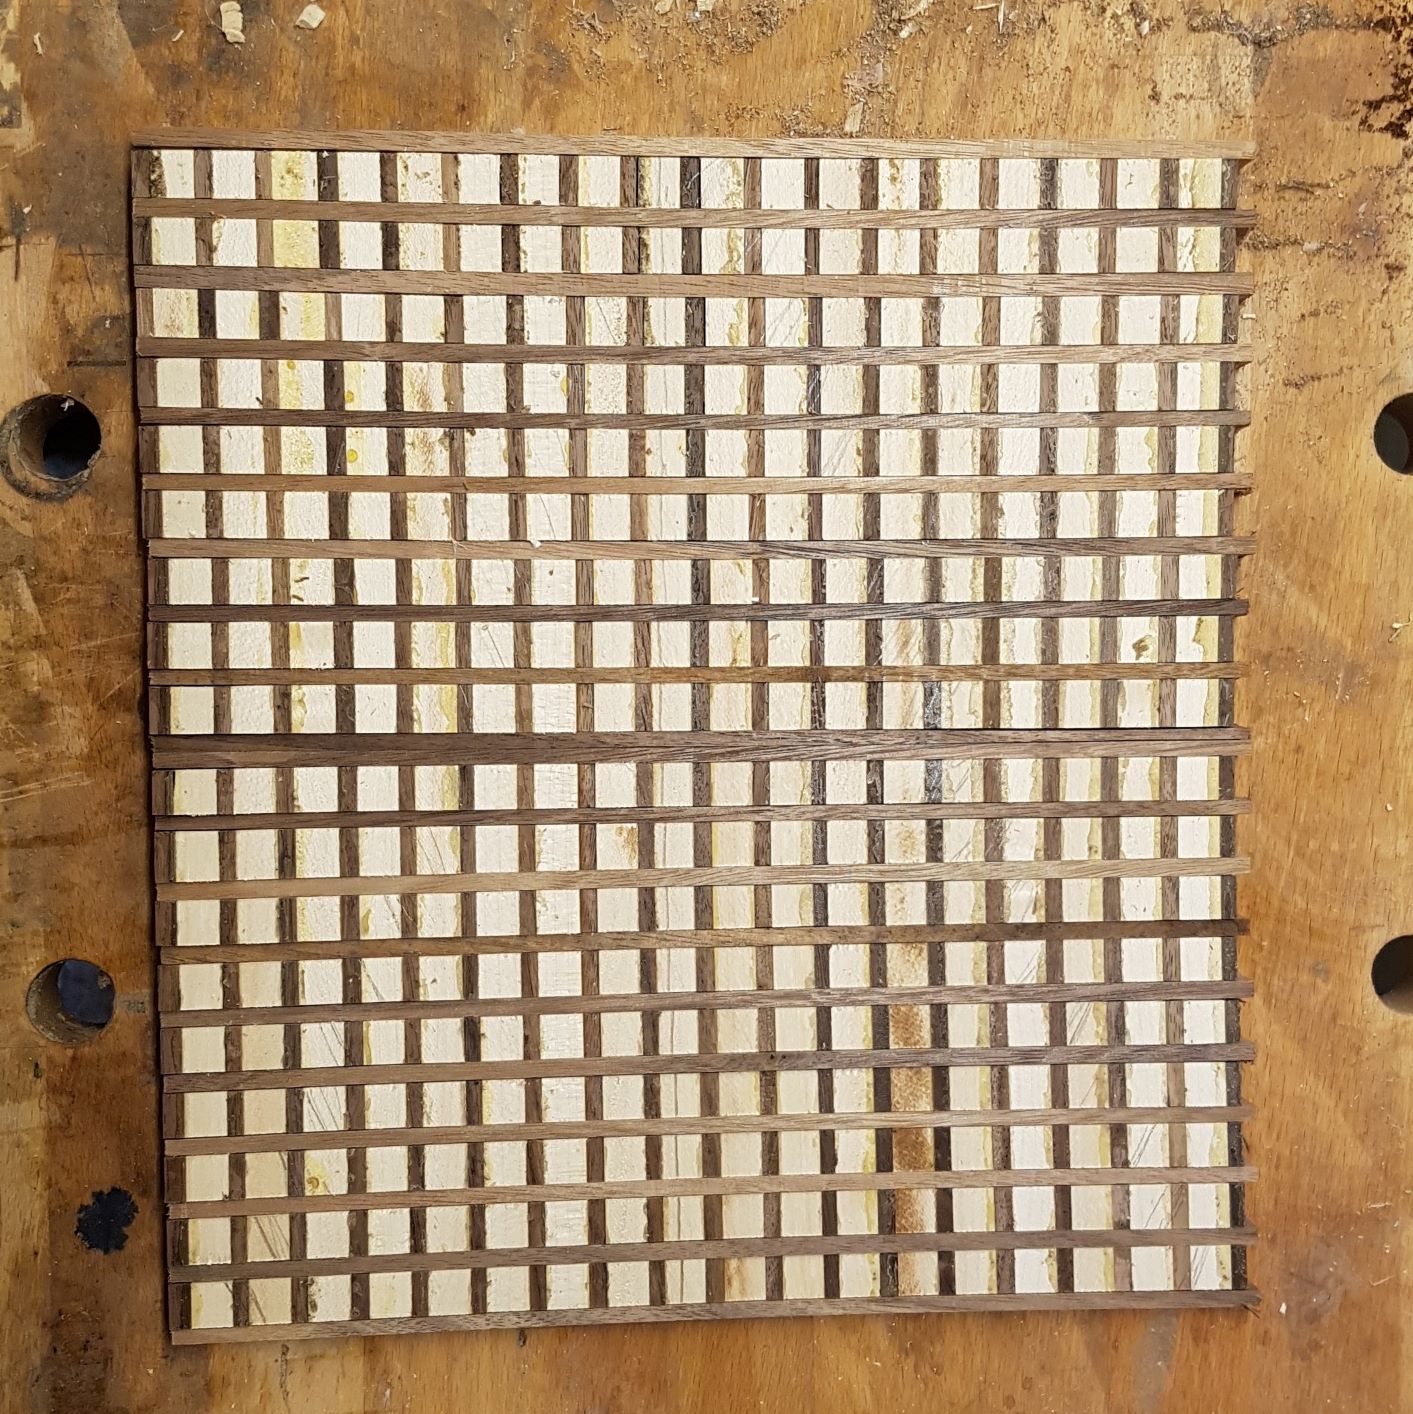
When I made the actual playing surface for the go board I did that by cutting and gluing strips of maple and walnut in the thicknesses needed for the game. Unfortunately this resulted in a fairly fragile board surface with number of end grain to side grain glue joints required. I solved this by gluing it onto a hardboard backer to reinforce everything.
Once I had the basic pieces made there was a fair bit of work to fit and join everything together until the board was completed.

It folds in half with storage in the bottom for the playing pieces.

Keeping the turned pieces of the frame aligned so they match up when the board is closed turned out to be quite a challenge.

Once I had the board made I wanted to buy the playing pieces since there are quite a few needed. Unfortunately it seems that I made the board a bit smaller than a standard playing surface. I could not find anything that would work off the shelf. In the end I did wind up turning all of the playing pieces as well.

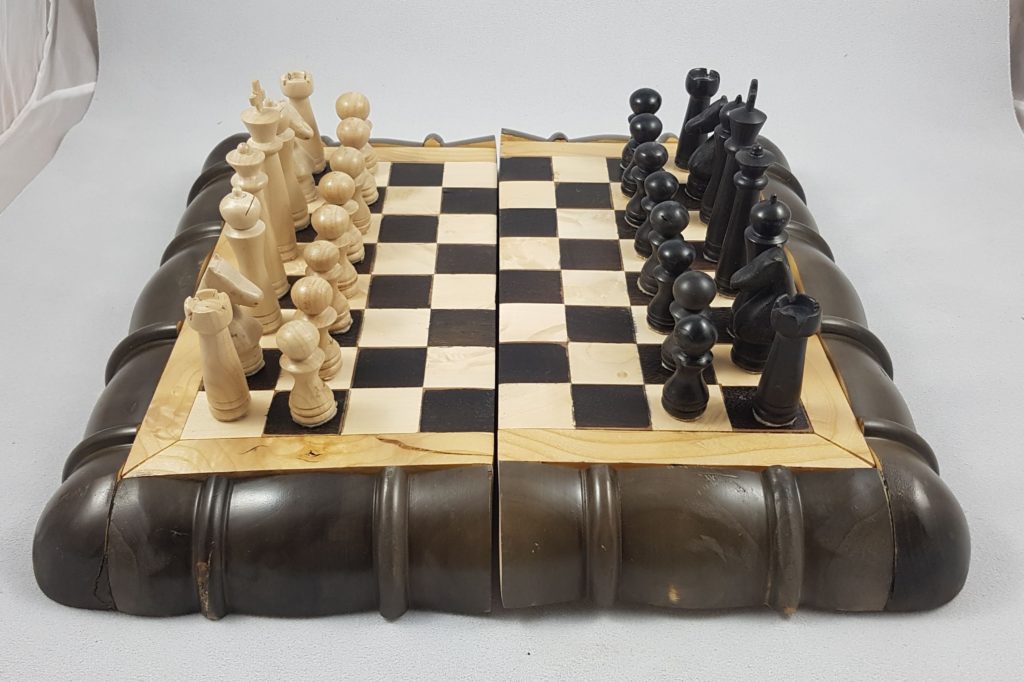
Making a Chess set
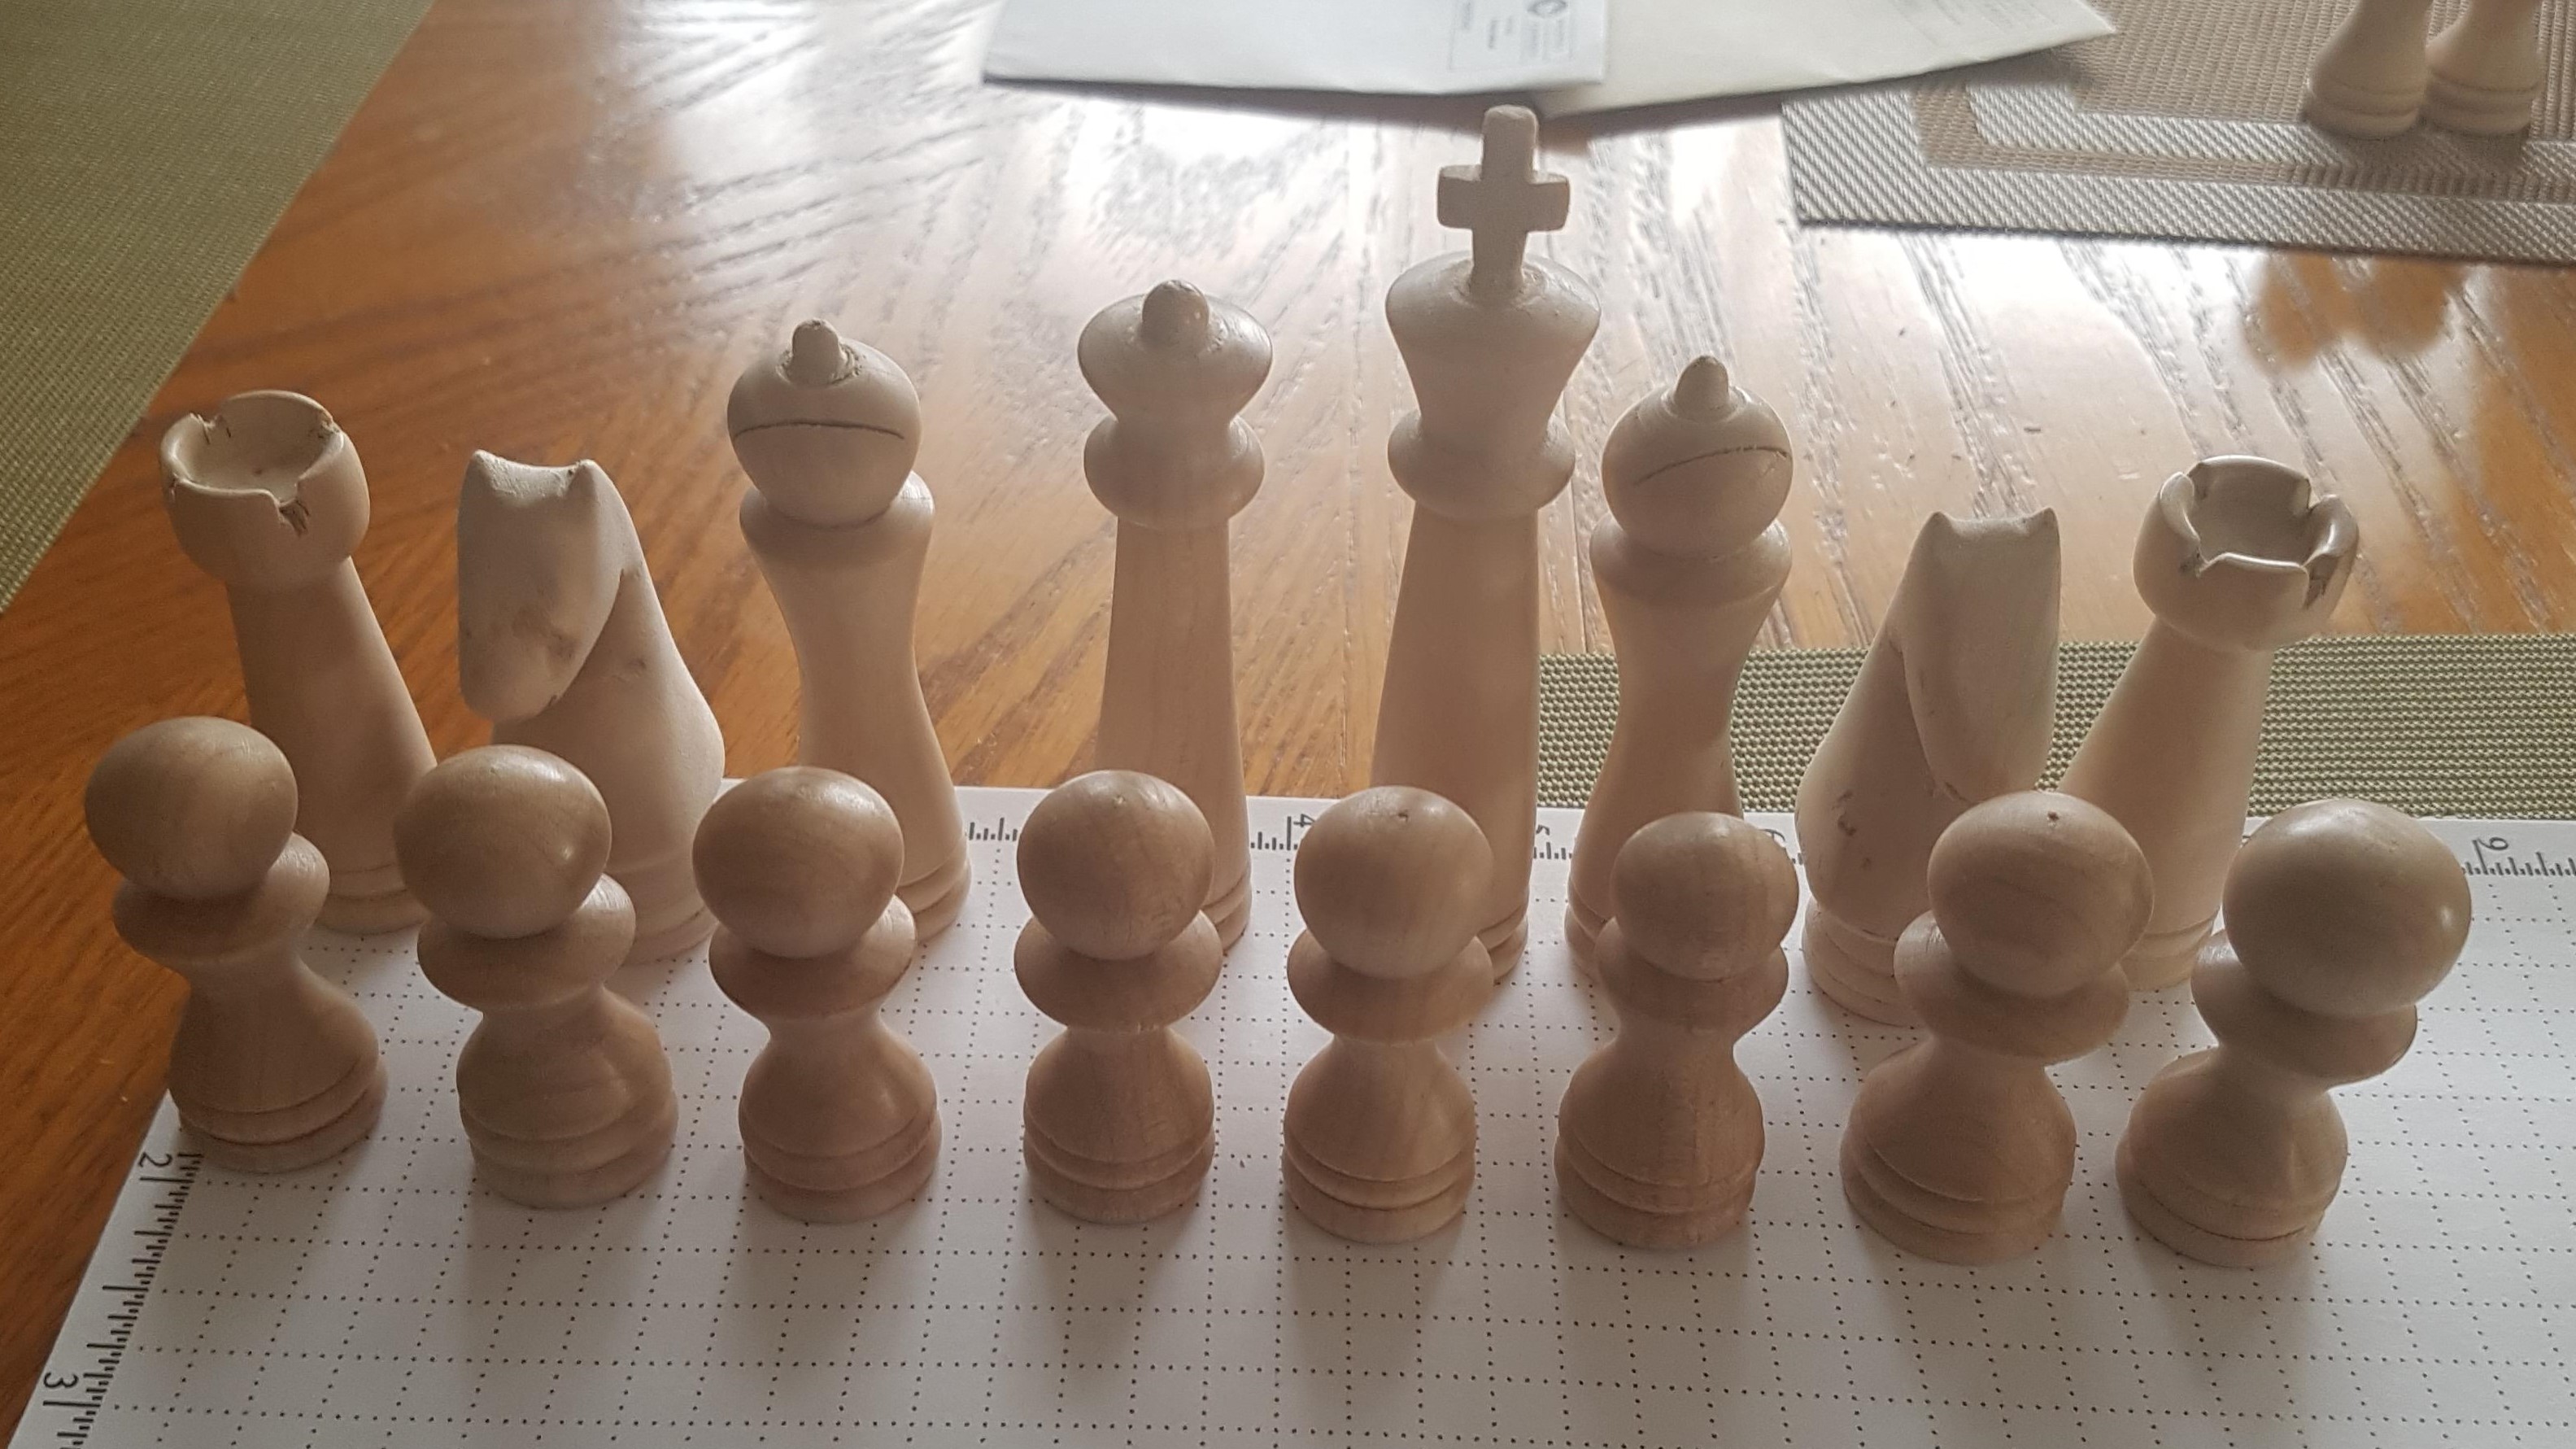
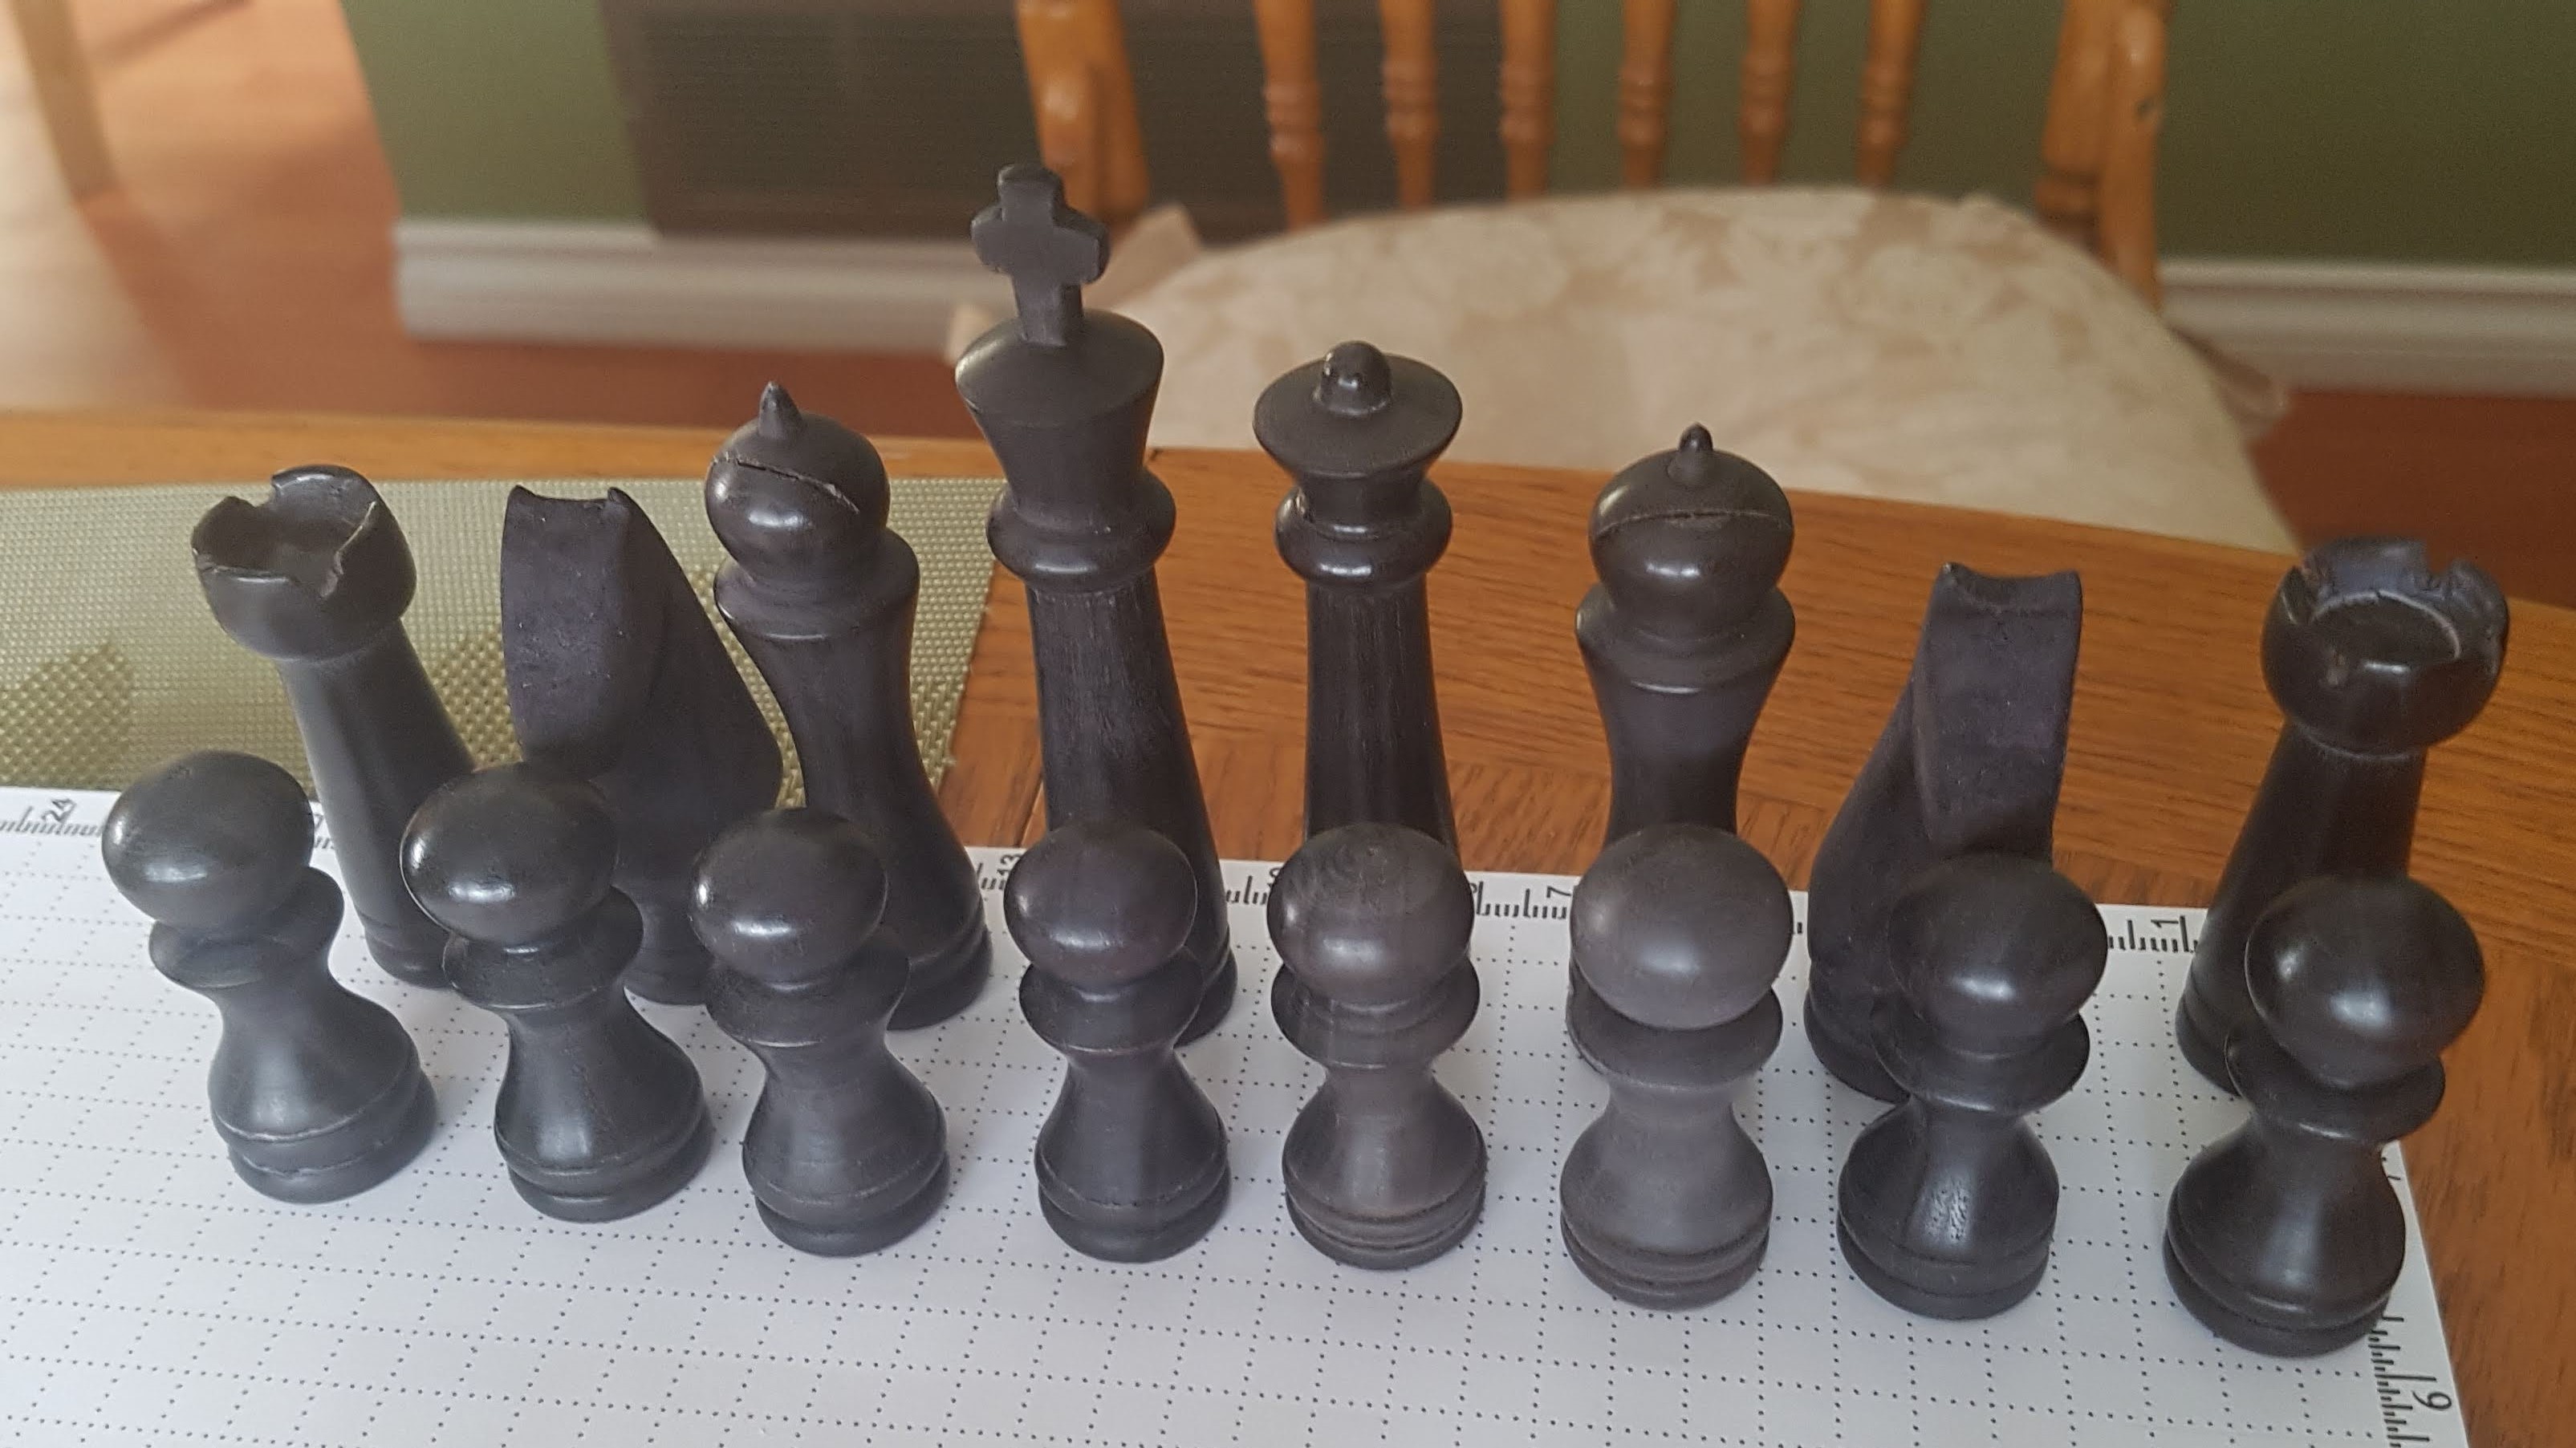
After making the Go board for one niece it was time to make a Chess set for the other niece. I started by drawing a few different template ideas for the chess pieces. Then I showed them to my wife and went with the ones that she liked the best.
Darkening wood with steel wood and vinegar
One thing I wanted this time was to get a darker colour on the walnut to make more of a contrast with the maple wood. I decided to experiment with a mixture of steel wood dissolved in vinegar. The mixture reacts with the tannin in the wood and turns it dark. After some experimentation I found that it worked well. I had hoped to be able to wipe it over the whole board and have it react more strongly with the walnut than the maple. Unfortunately the maple reacted too strongly so that would not work. When I did apply it to the board I had to do some careful masking to get it on the walnut while avoiding the maple.
Turning the pieces
Turning the pieces was a bit tedious but mostly fairly standard spindle turning. I made all of the same kind of piece together. I used the templates to keep them all as similar as possible. With the kings I turned the pieces first. Then I cut away the sides of the cross with a small handsaw before sanding on the lathe.
The one piece that was more challenging was the knight. For those pieces I cut out the basic profile on the bandsaw. Then I took them to the lathe to turn the base. Doing it in that order gave a flat surface to support the pieces on while I was cutting the knight profile. After that I did a bit more shaping using a carving knife, rasp and sandpaper. They wound up being recognizable but a bit basic is shape. Given my level of carving expertise I am satisfied with that. Once all of the pieces were made I drilled out the bottoms and glued in pieces of steel rod to give them a bit of weight.
After that I made the chess board in much the same manner as I made the Go board.


